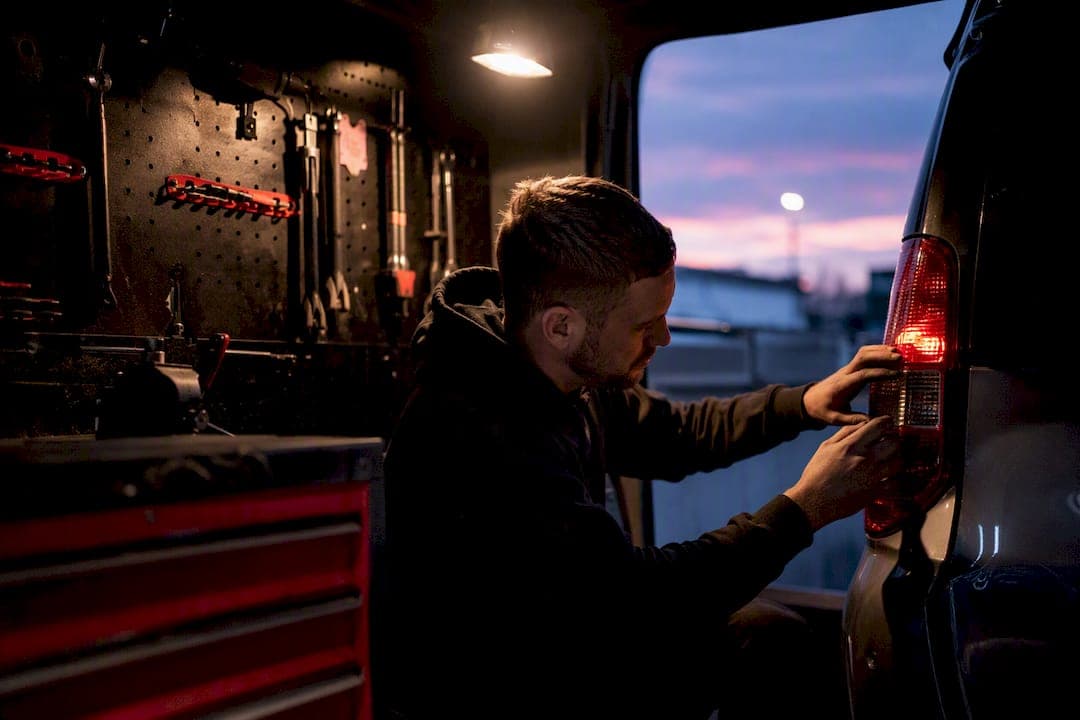
Do your own pre-MOT check one to two weeks before the test, then book a professional inspection if you spot anything mechanical you can't judge yourself. Lights, tyres and visibility items cause a large share of preventable MOT failures, and most take minutes to fix once you know they're a problem. The DVSA's own inspection checklist (VT29) covers everything a tester looks at, and the AA's guidance narrows it down to what actually matters for a DIY check:
- Tyres: minimum 1.6mm tread across the central three quarters
- Lights: every bulb working, lenses clean and undamaged
- Windscreen: no chip over 10mm in the A-zone, no crack over 40mm elsewhere
Run through the checklist below now. If anything feels off with your brakes or steering, skip straight to booking a professional pre-MOT.
Key Takeaways
Most MOT failures come down to lights, tyres and visibility items that a fifteen-minute check catches before the test does.
| Point | Details |
|---|---|
| Check lights first | Test every bulb including fog and brake lights, since lighting causes the most failures. |
| Use the 20p tyre test | Push a coin into the tread across each tyre; if the rim shows, tread may be below 1.6mm. |
| Time it right | Do checks seven to fourteen days before the MOT so there's time to source parts and book repairs. |
| Know your limits | Brake thickness, suspension play and emissions need diagnostic equipment, not a driveway check. |
| Book a mobile pre-MOT | Trackside Auto offers free call-out pre-MOT visits across Cheshire with transparent, upfront pricing. |
Table of Contents
- What is a pre-MOT check and why it matters
- When is a professional pre-MOT inspection worth the money?
- Quick fixes worth arranging before test day
- Your one-sitting pre-MOT checklist
- Basic suspension check: shocks and springs
- What happens during an exhaust emissions pre-test?
- How to check your steering system before the MOT
- Lighting checks: fog lights, brake lights and beyond
- Author perspective and Trackside Auto for MOT prep in Cheshire
- Why most pre-MOT advice misses the point
- Book a pre-MOT visit with Trackside Auto
- Sources
What is a pre-MOT check and why it matters
A pre-MOT check is simply a run through the same items your MOT tester will inspect, done before you hand the car over, so you can fix problems on your own schedule instead of theirs. It's not a formal test and it carries no certificate. Think of it as a dress rehearsal: you're looking for the same faults, using the same standards, but with the freedom to shop around for parts and labour rather than being stuck with whatever the test centre charges after a fail.
1. Lights and indicators
Turn on every light with the engine running: headlights (dipped and full beam), sidelights, indicators, fog lights, brake lights, reversing light and number plate light. You'll need a second pair of eyes for brake lights, or park facing a reflective shop window or garage door and check the reflection. A single blown bulb is one of the most common reasons cars fail, and it's usually a five-minute fix.
2. Tyres
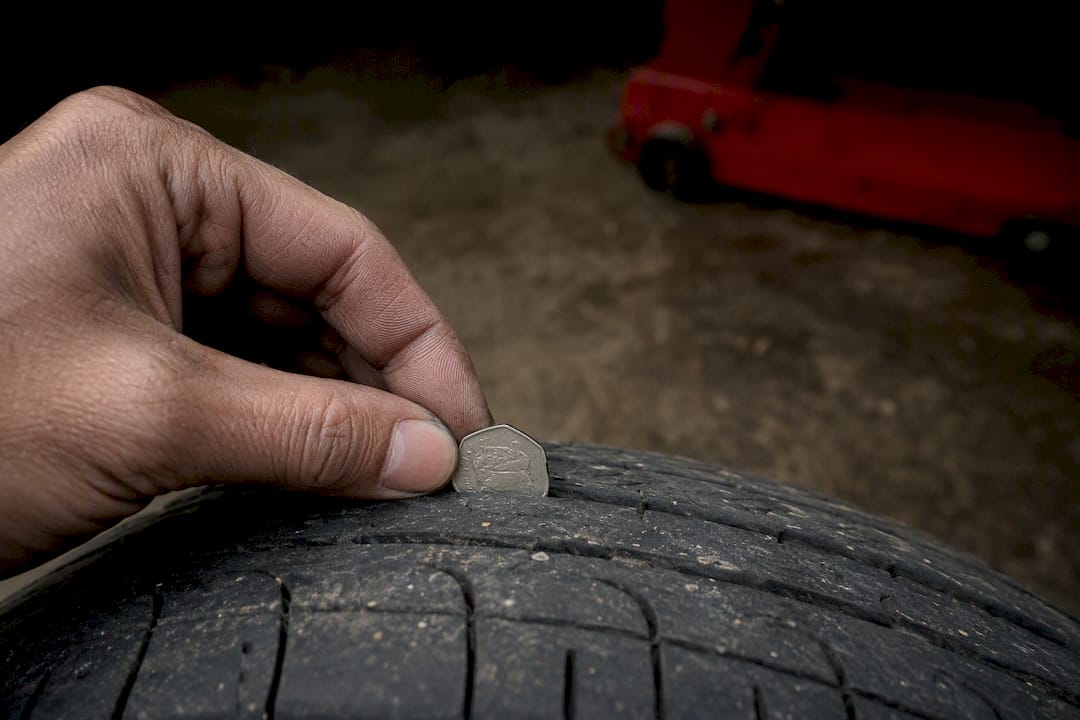
Push a 20p coin into the tread grooves at several points across each tyre, including the edges. If the outer rim of the coin disappears into the tread, you're above the legal 1.6mm minimum, according to MOTcheck's guidance. Tread isn't the only thing that fails tyres, though. Run your hand round each tyre feeling for bulges, cuts or exposed cord, and check for uneven wear across the tread, which often points to a wheel alignment or suspension problem rather than just age.
3. Windscreen, wipers and screenwash
Sit in the driver's seat and check the windscreen for chips and cracks. Anything bigger than 10mm in the "A-zone" (the area swept by the driver's side wiper, roughly in line with the steering wheel) is a fail, and damage over 40mm anywhere else in the swept area fails too, per the AA's checklist. Check wiper blades for splits or smearing, and top up screenwash. It sounds trivial, but an empty reservoir is a guaranteed advisory or fail.
4. Fluids and battery
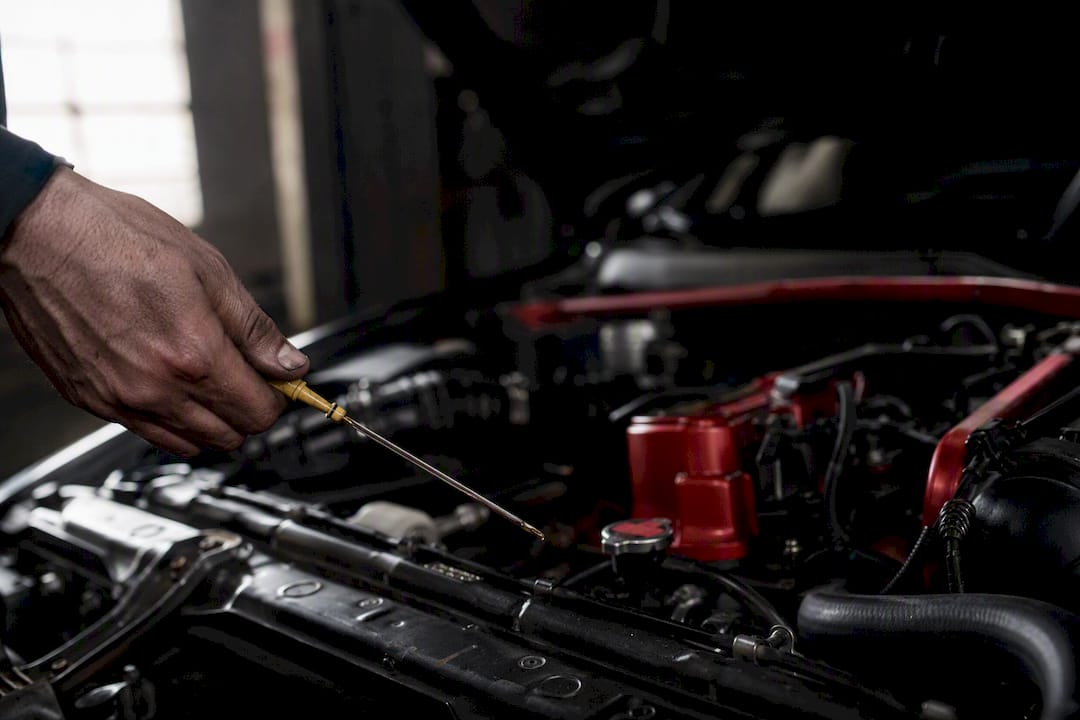
Check engine oil level and condition on the dipstick, top up brake fluid if it's below the minimum mark, and confirm the battery terminals are clean and tight. A battery that's on its way out won't fail an MOT directly, but a car that won't start on test day wastes your slot and your money.
5. Brakes and handbrake
With the engine off, press the brake pedal and check it feels firm, not soft or sinking to the floor. Then find a gentle slope, apply the handbrake, and see whether it holds the car without slipping. These simple checks reveal faults that many drivers otherwise miss entirely.
6. Number plate, mirrors, horn and seat belts
Confirm both plates are clean, correctly spaced and securely fitted. Check mirrors aren't cracked, the horn works, and every seat belt extends, retracts and clicks in firmly with no fraying.
Pro Tip: Do all of this seven to fourteen days before your MOT, not the night before. That window gives you time to order parts, book a mechanic, and fix anything without paying rush prices. Keep a note of any advisories from your last MOT too. If a tester flagged something as "monitor" last year, it's often close to failing this time.
When is a professional pre-MOT inspection worth the money?
An MOT and a service aren't the same thing, and that distinction catches drivers out constantly. The MOT checks safety and emissions standards at a single point in time; it says nothing about your car's overall mechanical condition or long-term reliability. Passing doesn't mean anything's wearing out, it just means nothing's failed yet.
A professional pre-MOT inspection catches what you physically can't check yourself:
- Brake pad and disc thickness measured with proper tools, not guessed by ear
- Suspension play and bushing wear found by putting the car on a ramp
- Emissions readings taken with the same diagnostic equipment MOT centres use
- Steering and drivetrain components checked under load
Prices for a basic pre-MOT inspection typically run from around £10 to £40, depending on how thorough it is and whether it includes diagnostics. Mobile visits and workshop appointments both work, but a mobile check saves you the trip. The real value is timing: an independent pre-MOT gives you the freedom to shop around for parts and labour, which usually costs less than being tied to whatever a test centre quotes after a fail. Trackside Auto's mobile mechanics run pre-MOT visits across Cheshire with free call-out in the area and pricing agreed before any work starts, so there's no surprise invoice waiting for you.
Quick fixes worth arranging before test day
Some fixes are cheap enough that there's no reason to risk a fail over them. Others are a clear signal to stop DIY-ing and call someone.
- A blown bulb costs a few pounds and takes minutes to swap; do it the moment you spot it.
- A tyre with tread just above 1.6mm but uneven wear might still be fine, but one with a bulge or exposed cord needs replacing, not repairing.
- Wiper blades and screenwash top-ups cost next to nothing and remove an easy fail.
- If the ABS or engine warning light is on, the brake pedal feels soft or sinks, or you hear knocking from the suspension, stop checking things yourself and book a mechanic.
A mobile mechanic can often sort small jobs like bulbs, blades and battery terminals on your driveway in the same visit as the inspection, which keeps your original MOT slot intact instead of forcing a rebook.
Your one-sitting pre-MOT checklist
Work through this in order and you'll have covered the items most likely to cause a fail:
- Test all lights, including fog and brake lights
- Check tyre tread with the 20p test on all four tyres
- Inspect tyres for bulges, cuts and uneven wear
- Check the windscreen for chips and cracks
- Replace worn wiper blades and top up screenwash
- Check oil and brake fluid levels
- Check battery terminals are clean and secure
- Test brake pedal feel and handbrake hold on a slope
- Confirm number plates, mirrors and horn are all sound
- Check every seat belt clicks in and retracts properly
When you book your MOT or any repairs, tell the garage about previous advisories, current mileage, and anything odd you've noticed while driving, not just what you found on this checklist. You can also book your MOT up to a month early and keep your original renewal date, so there's no rush to leave it to the last week. If anything on brakes or electronics gives you pause, get a professional pre-MOT before test day rather than finding out at the centre.
Basic suspension check: shocks and springs
Suspension faults rarely announce themselves with a warning light, which is exactly why they catch drivers out. Start with the bounce test: push down hard on each corner of the car and release. A healthy shock absorber lets the car settle back level within one bounce. If it keeps bobbing, that shock is on its way out.
Walk round the car and look at ride height. One corner sitting noticeably lower than the others usually means a weakened or broken spring. Check for oily residue around the shock absorber body too; a leaking shock has lost its damping fluid and won't be able to control the wheel's movement properly.
Listen while driving over speed bumps or rough surfaces. A clunk or knock from a corner often means a worn bush or a loose link rather than the shock itself, but either way it's worth a look underneath. Uneven tyre wear, particularly wear concentrated on one edge, can also point back to worn suspension components rather than a wheel alignment issue alone.
None of this replaces a proper inspection on a ramp, where a technician can physically move each component and check for play. Structural or suspension failures are exactly the category the AA flags as needing diagnostic equipment and a trained eye rather than a driveway check. If your car fails the bounce test or you've noticed a change in how it handles corners, that's a job for a pre-MOT inspection, not a bulb swap.
What happens during an exhaust emissions pre-test?
Emissions testing is one area where a DIY check genuinely can't tell you much. MOT testers use a gas analyser probe inserted into the exhaust to measure carbon monoxide, hydrocarbons and, for diesel vehicles, smoke opacity, comparing the readings against limits set for your vehicle's age and fuel type.
There are a few things you can check without equipment. A puff of thick black or blue smoke on start-up or under acceleration is a warning sign of a rich fuel mixture or an oil-burning engine. A strong smell of fuel or persistent rattling from the exhaust box itself suggests a leak or a failing catalytic converter, both of which affect emissions readings directly.
Diesel particulate filters (DPFs) deserve a specific mention. Short journeys that never let the engine reach motorway speed for a sustained period stop the DPF from self-cleaning, which can trigger a warning light and an emissions fail even on an otherwise healthy engine. If that light is on, a fifteen to twenty minute run at a steady 50 to 60mph beforehand sometimes clears it. If it doesn't, you need a diagnostic check rather than another attempt at the motorway run.
A garage running a proper emissions pre-test will use the same analyser as the MOT centre, giving you an actual pass or fail reading rather than a guess based on exhaust colour.
How to check your steering system before the MOT
Steering faults tend to develop slowly, so a lot of drivers don't notice until a tester points them out. With the engine off and the car stationary, turn the steering wheel gently from side to side. Anything more than an inch or two of play before the wheels start to move suggests worn track rod ends or steering rack components.
Listen for whining or groaning when turning at low speed, particularly on full lock, which usually points to low power steering fluid or a failing pump. Check underneath for fluid pooling near the steering rack, and glance at the power steering reservoir level if your car has a hydraulic system.
On the move, feel for the car pulling to one side under normal driving, or vibration through the steering wheel at speed. Both can indicate tracking that's out of alignment or uneven tyre wear feeding back through the system, and both are worth flagging to a mechanic before test day rather than after a fail.
Lighting checks: fog lights, brake lights and beyond
Lighting is the single most common reason cars fail, and most of it comes down to bulbs a driver never checks because they're never used. Fog lights sit at the top of that list: plenty of drivers go months without switching them on, so a blown bulb goes unnoticed until an MOT tester finds it.
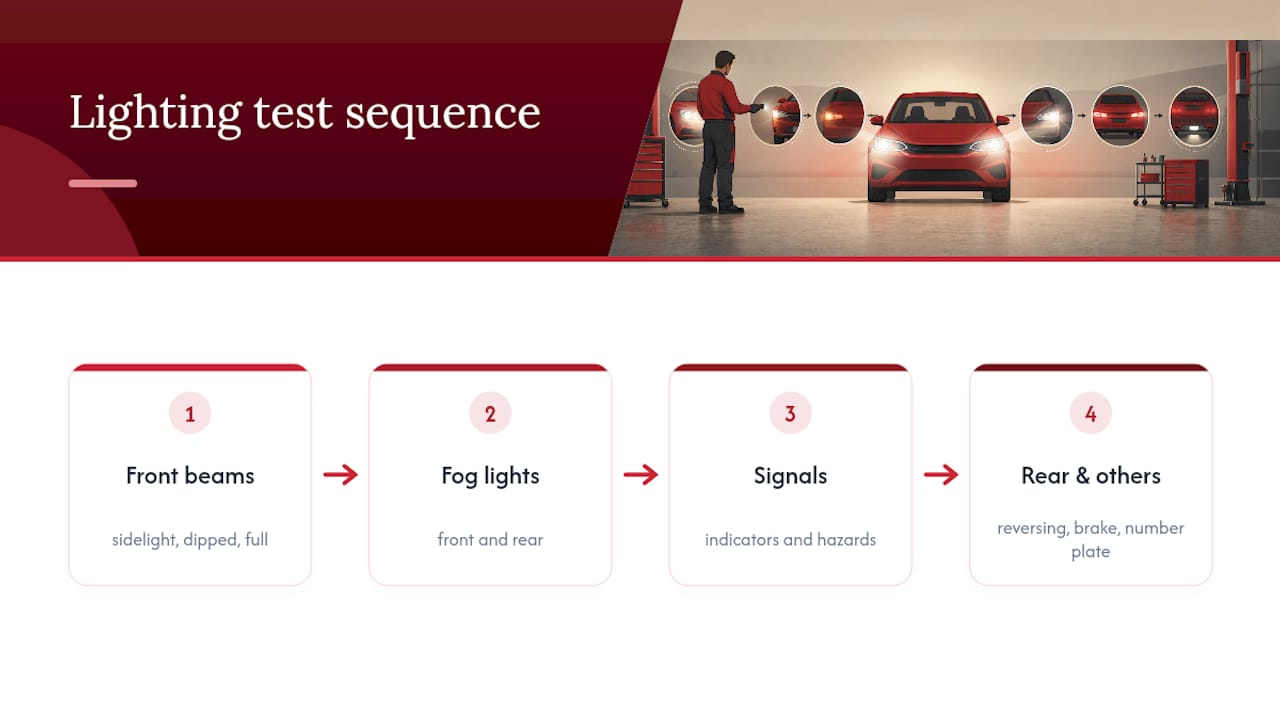
Test every light in this order: sidelights, dipped beam, full beam, front and rear fog lights, both indicators, hazard lights, reversing light and the number plate light. Brake lights need a second person standing behind the car, or use a reflective surface like a garage door or shop window to check them alone.
Check beam alignment too. Headlights that point too high dazzle oncoming drivers and fail the test; too low and they fail to light the road properly. If one headlight looks noticeably dimmer or a different colour to the other, that's often a sign of a bulb reaching the end of its life rather than a fault worth ignoring.
Author perspective and Trackside Auto for MOT prep in Cheshire
David has spent years watching drivers turn a £5 bulb into a £200 fail simply because they never looked before the test. That's the gap the conventional advice misses: most guides tell you what to check but not when it stops being safe to check it yourself.
Trackside Auto runs mobile pre-MOT visits across Cheshire, including Knutsford, Wilmslow and Crewe, with free call-out in the area and no upselling once the mechanic arrives.
- Full diagnostics, servicing and MOT preparation with transparent pricing agreed upfront
- No unexpected charges once work begins
- A commitment to honest feedback rather than a sales pitch
Most MOT failures aren't mysteries. They're the same handful of things, missed because nobody looked until the tester did it for them.
A Trackside Auto visit means you find out what needs fixing at home, before the test, not after.
Why most pre-MOT advice misses the point
Most guides on this subject read like inventories: check the tyres, check the lights, check the fluids, job done. What they skip is the judgement call in the middle, knowing when a problem has moved from "fix it yourself" to "get someone qualified to look at it before you waste a test slot."
The evidence backs a simple split. Bulbs, wiper blades, tyre tread and screenwash are DIY territory, cheap and quick. Brake feel, suspension play, steering slack and emissions are not, because they need equipment and experience to measure properly rather than guess at. Drivers who treat every item on the checklist the same way either waste money on a professional check for a blown bulb, or skip a proper inspection on something that genuinely needed one.
My advice: run the DIY list every time, without exception. But the moment you feel something you can't explain, a soft pedal, a knock, a light that won't go out, stop treating it as one more box to tick. That's the point a fifteen-minute mobile visit earns its cost several times over.
— David
Book a pre-MOT visit with Trackside Auto
Trackside Auto brings the pre-MOT check to you, rather than making you take a morning off work to sit in a garage waiting room. For drivers across Cheshire, that means a qualified mechanic arrives at your home or workplace, runs through the same checks a tester will, and quotes any repairs before touching a single bolt.
There's no call-out charge within the service area, and no upselling once the mechanic's there, just an honest list of what needs doing and what it costs. If you'd rather have the work done at a workshop appointment, Trackside Auto's servicing and MOT prep service covers that too. Whether you're in Knutsford, Wilmslow or further out, book a mobile mechanic visit and get your car test-ready without losing a day to it.
Sources
- MOT inspection checklist (VT29) — GOV.UK
- MOT checklist | How to pass your car MOT | The AA
- Pre MOT Checks - What To Check Before Your MOT (2025) — MOTcheck